
There is ALOT more to see.....so let's get started!
Here are the details about the upcoming release on December 6 at 10 PM EST:
- You can attend the New Release Party on December 6th from 8-10 PM EST HERE in the MFT forum, where you can enjoy fun, games, and PRIZES!
- The MFT release, including all new stamp sets and Die-namics, is on December 6 at 10 PM EST. You'll find all the newest products HERE at release time.
- The guest designer contest is ON! Check out the forum for details on how YOU can win $200 in stamp sets and Die-namics, and play along with the MFT Design Team for a month.
- If you'd like to see all the teasers for today, please click on over to the MFT Blog NOW. Be sure to leave comments as you go for the chance to win one of 2, $10 gift certificates given away daily. The winners will be posted on December 6 just before the release party, on the MFT blog.
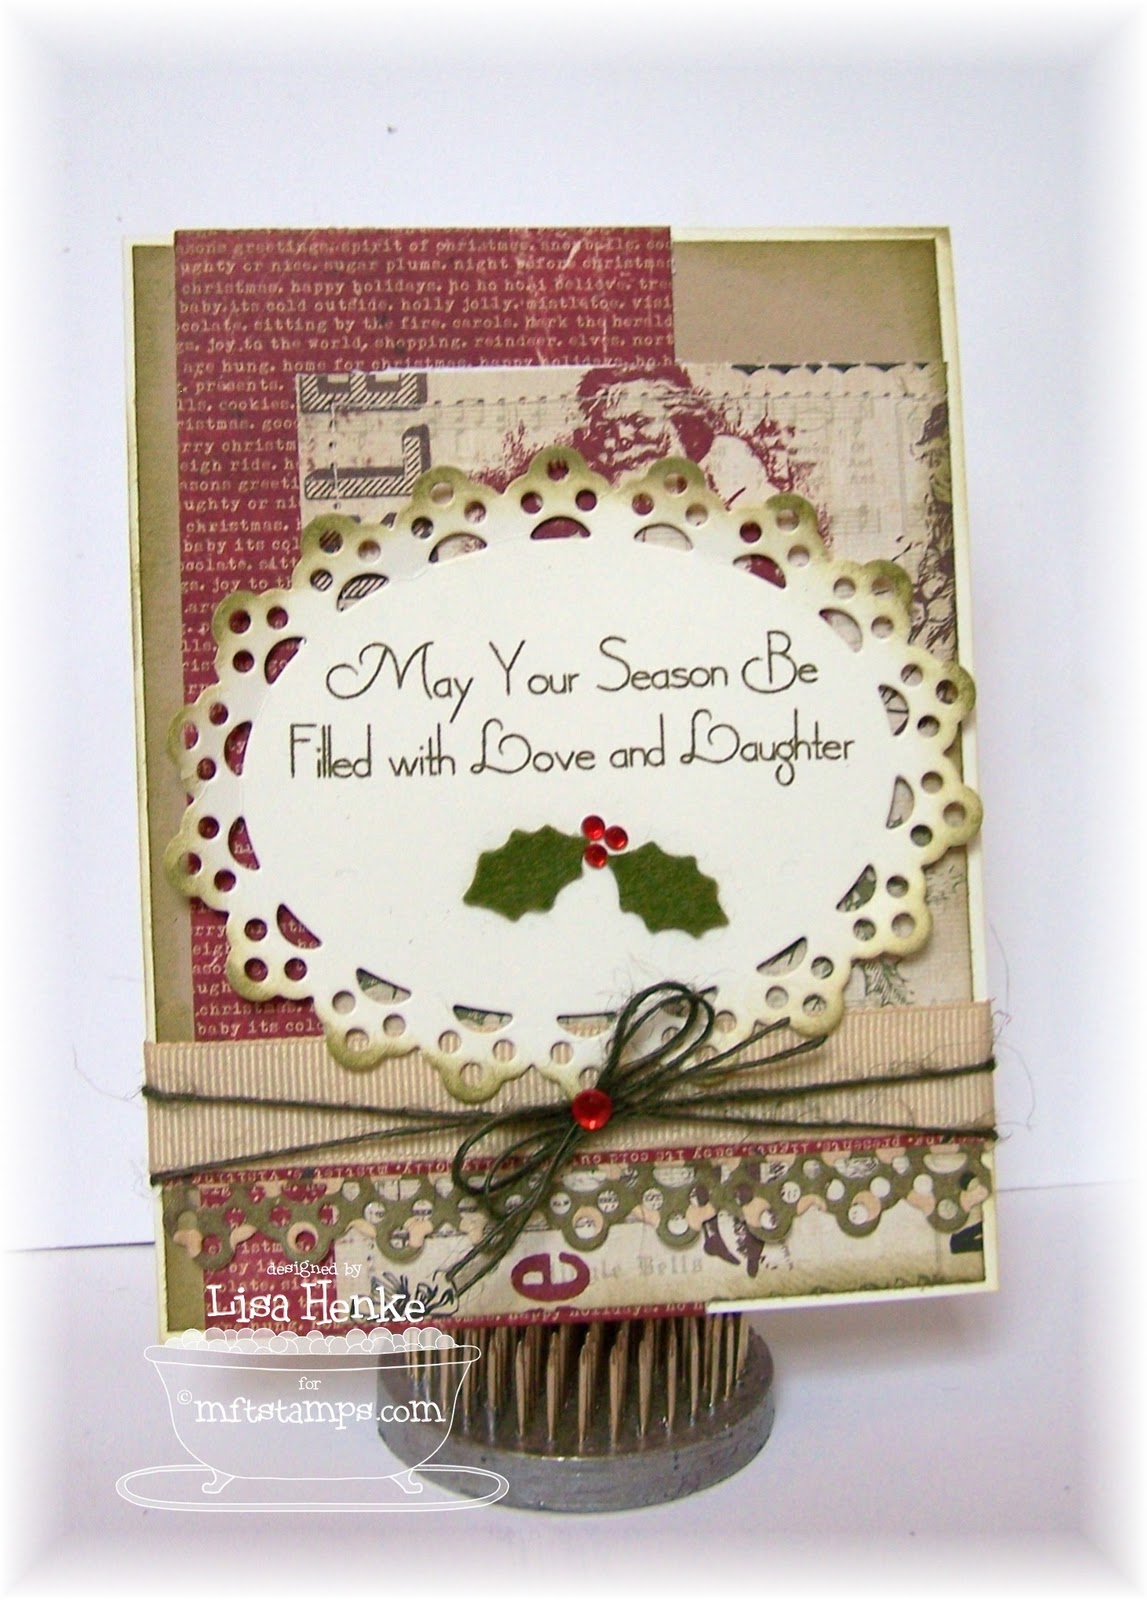
 Today is our preview of the new set of sentiments: Clearly Sentimental about Christmas, Pearls of Wisdom. Pearls of Wisdom will be our new Triple Scoop promo set. That means you can get it for FREE! Read all about our Triple Scoop Promotion HERE!
I've got a card with each today. A vintage holiday card (I think that's my theme this year....seem to have more vintage on hand than usual.....kind of like this trend!). I used some of the die-namics that were released last month.


I use a masking technique with post-its to make this happen. It's easy and creates lots more choices to your stamps. Here's how I do it.


Stop by Kim's blog for the full list of teaser posts!


I'm having fun! I just LOVE the way you added the mini tab at the top of your card with the button - how cute is that? Your cards are gorgeous!!
ReplyDeleteditto about the mini tab and button ... fabulous card
ReplyDeletecute, cute, cute cards....
ReplyDeleteOh, Lisa!
ReplyDeleteTwo beautiful cards!!! :)
Thank you so much for sharing,
Jennifer
partridgelu at yahoo dot com
I love your card! it is just perfect!!!
ReplyDeleteJust wonderful Lisa, you've done wonders with the newbies!
ReplyDeleteMost of us remember how to mask but thanks for the visual. It reminds us that our stamp sets can be used in endless ways!
ReplyDeleteBeautiful cards, and thanks for the tip!! :)
ReplyDeleteBeautiful Lisa!!
ReplyDeleteCrafty Hugs!
Meredith
very pretty cards! thanks for the helpful hint
ReplyDeleteThanks for showing your masking technique!
ReplyDeleteLisa, these cards are so lovely!! Both styles are gorgeous, love the colours and design. Great inspiration!!
ReplyDeletefabulous cards! I love that new lacey die.
ReplyDeleteWhat a great Christmas Card!! TFS!
ReplyDeleteThese are GORGEOUS Lisa! LOVE the holly accents under the sentiment!!!
ReplyDeleteAhhhhh.....twine......lovely!
ReplyDeleteGreat cards..thanks for showing the idea of using the post it notes!
ReplyDeleteLisa, this is such a fun and beautiful card!
ReplyDeleteThese are such beautiful cards. The added bits of holly really add that special touch to your Christmas card. And I really love your button/tab detail on the 2nd card. So pretty!
ReplyDeleteGorgeous cards!! I especially like the Christmassy one!
ReplyDeleteSuch beautiful cards! and thank you for sharing your post-it notes tip with us :)
ReplyDeleteOHH! THANKS for showing us how you use post-it notes for masking! FAB cards:)
ReplyDeleteBeautiful, beautiful cards. Love these dies and stamps. patnbobcuddy at gmail dot com
ReplyDeleteGreat tip on the masking! ALways seemed like a chore before! Your vintage holiday card is absolutely gorgeous!
ReplyDeleteWhat a great idea with the post-it notes! Why didn't I ever think of that??? Thanks!!
ReplyDeleteThese are BOTH lovely, Lisa! Especially love the holly berries under the sentiment and how you used the file tab on your second card!
ReplyDeleteBoth of your cards are gorgeous! Thanks for the quick tutorial on masking...
ReplyDeleteBoth of your cards are gorgeous, love the mini tab used as an accent. Love the sentiments.
ReplyDeleteThere are both so pretty, Lisa! I especially love your little tab with the button on your second card! Cute!
ReplyDeleteCool tip on inking part of a sentiment!
ReplyDeleteGorgeous doily oval!! Love it and your card showcases it wonderfully.
ReplyDeleteGreat cards Lisa! Love the Christmas card.
ReplyDeleteGreat cards! Thanks so much for the tutorial!!
ReplyDeleteSo beautiful, love it
ReplyDeleteLovely cards, thanks for sharing
ReplyDeleteSuch beautiful cards! and thank you for sharing your post-it notes tip with us :)
ReplyDelete